

How to Use a Cargo Net to Secure Your Gear Like a Pro
If you've ever hit the road with a pile of gear bouncing around in your truck bed or strapped a backpack to your motorcycle seat with fingers crossed, you know how stressful unsecured cargo can be. It only takes one pothole or hard brake for your load to shift, spill, or worse, fall off completely. That’s where a cargo net comes in. This flexible, tough, and dependable tool can lock your gear in place without overcomplicating the job.
In this guide, you’ll learn how to use a cargo net the right way. We’ll walk through step-by-step instructions, real-world examples, and the kind of expert tips that save time and keep your gear protected.

What Is a Cargo Net and Why Use One?
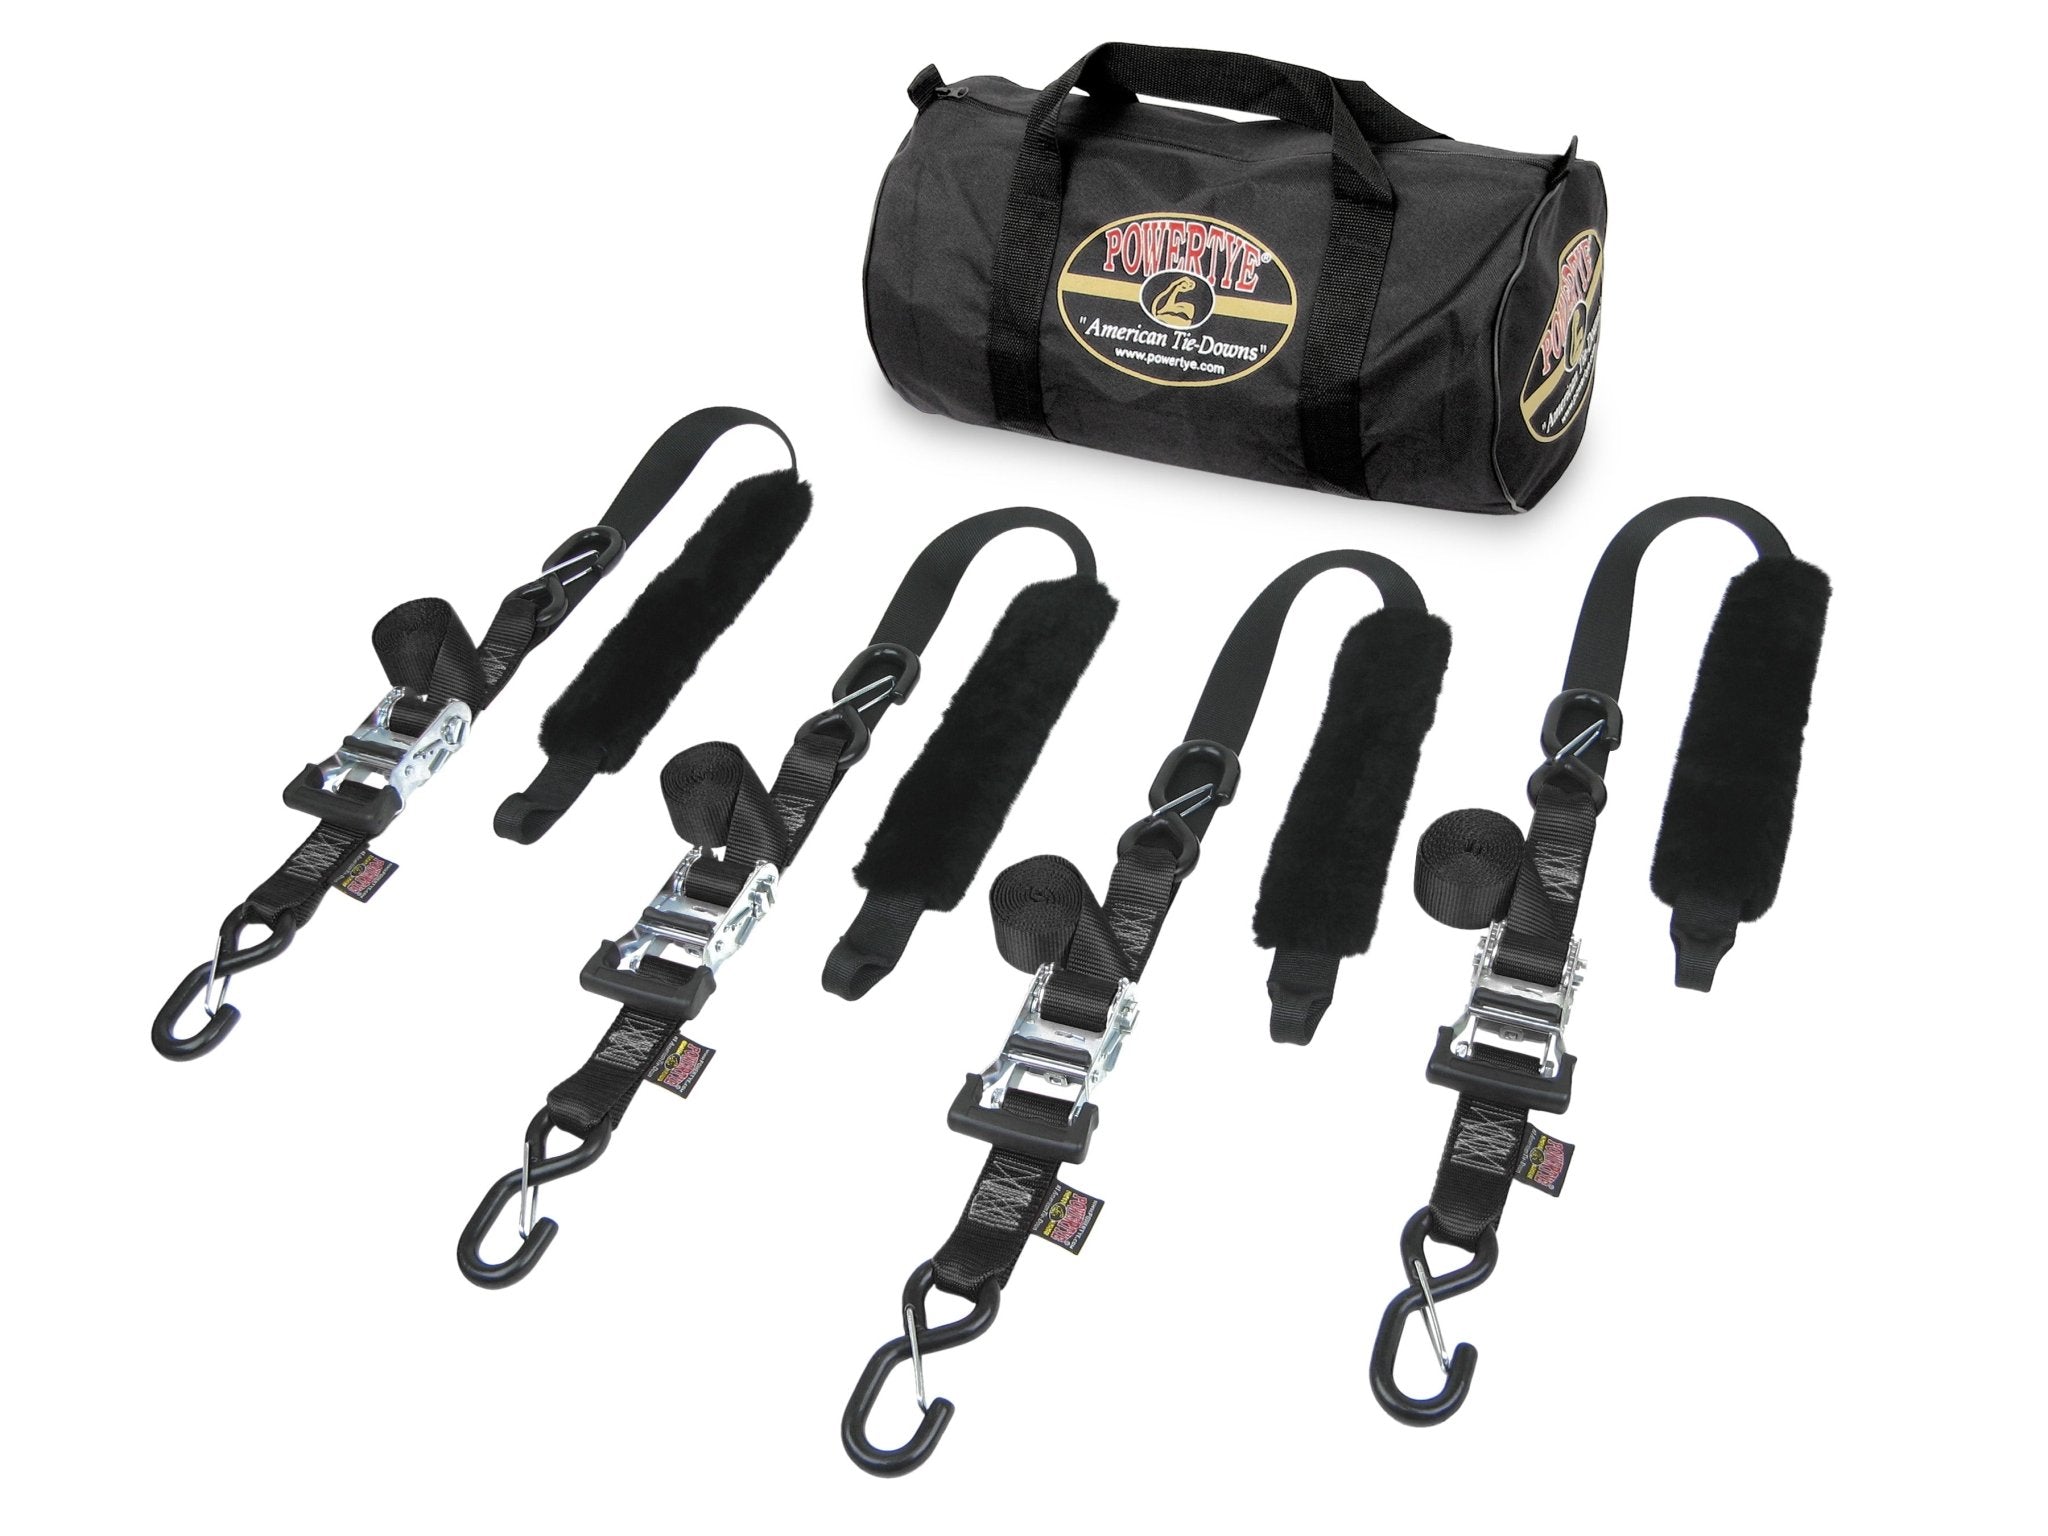
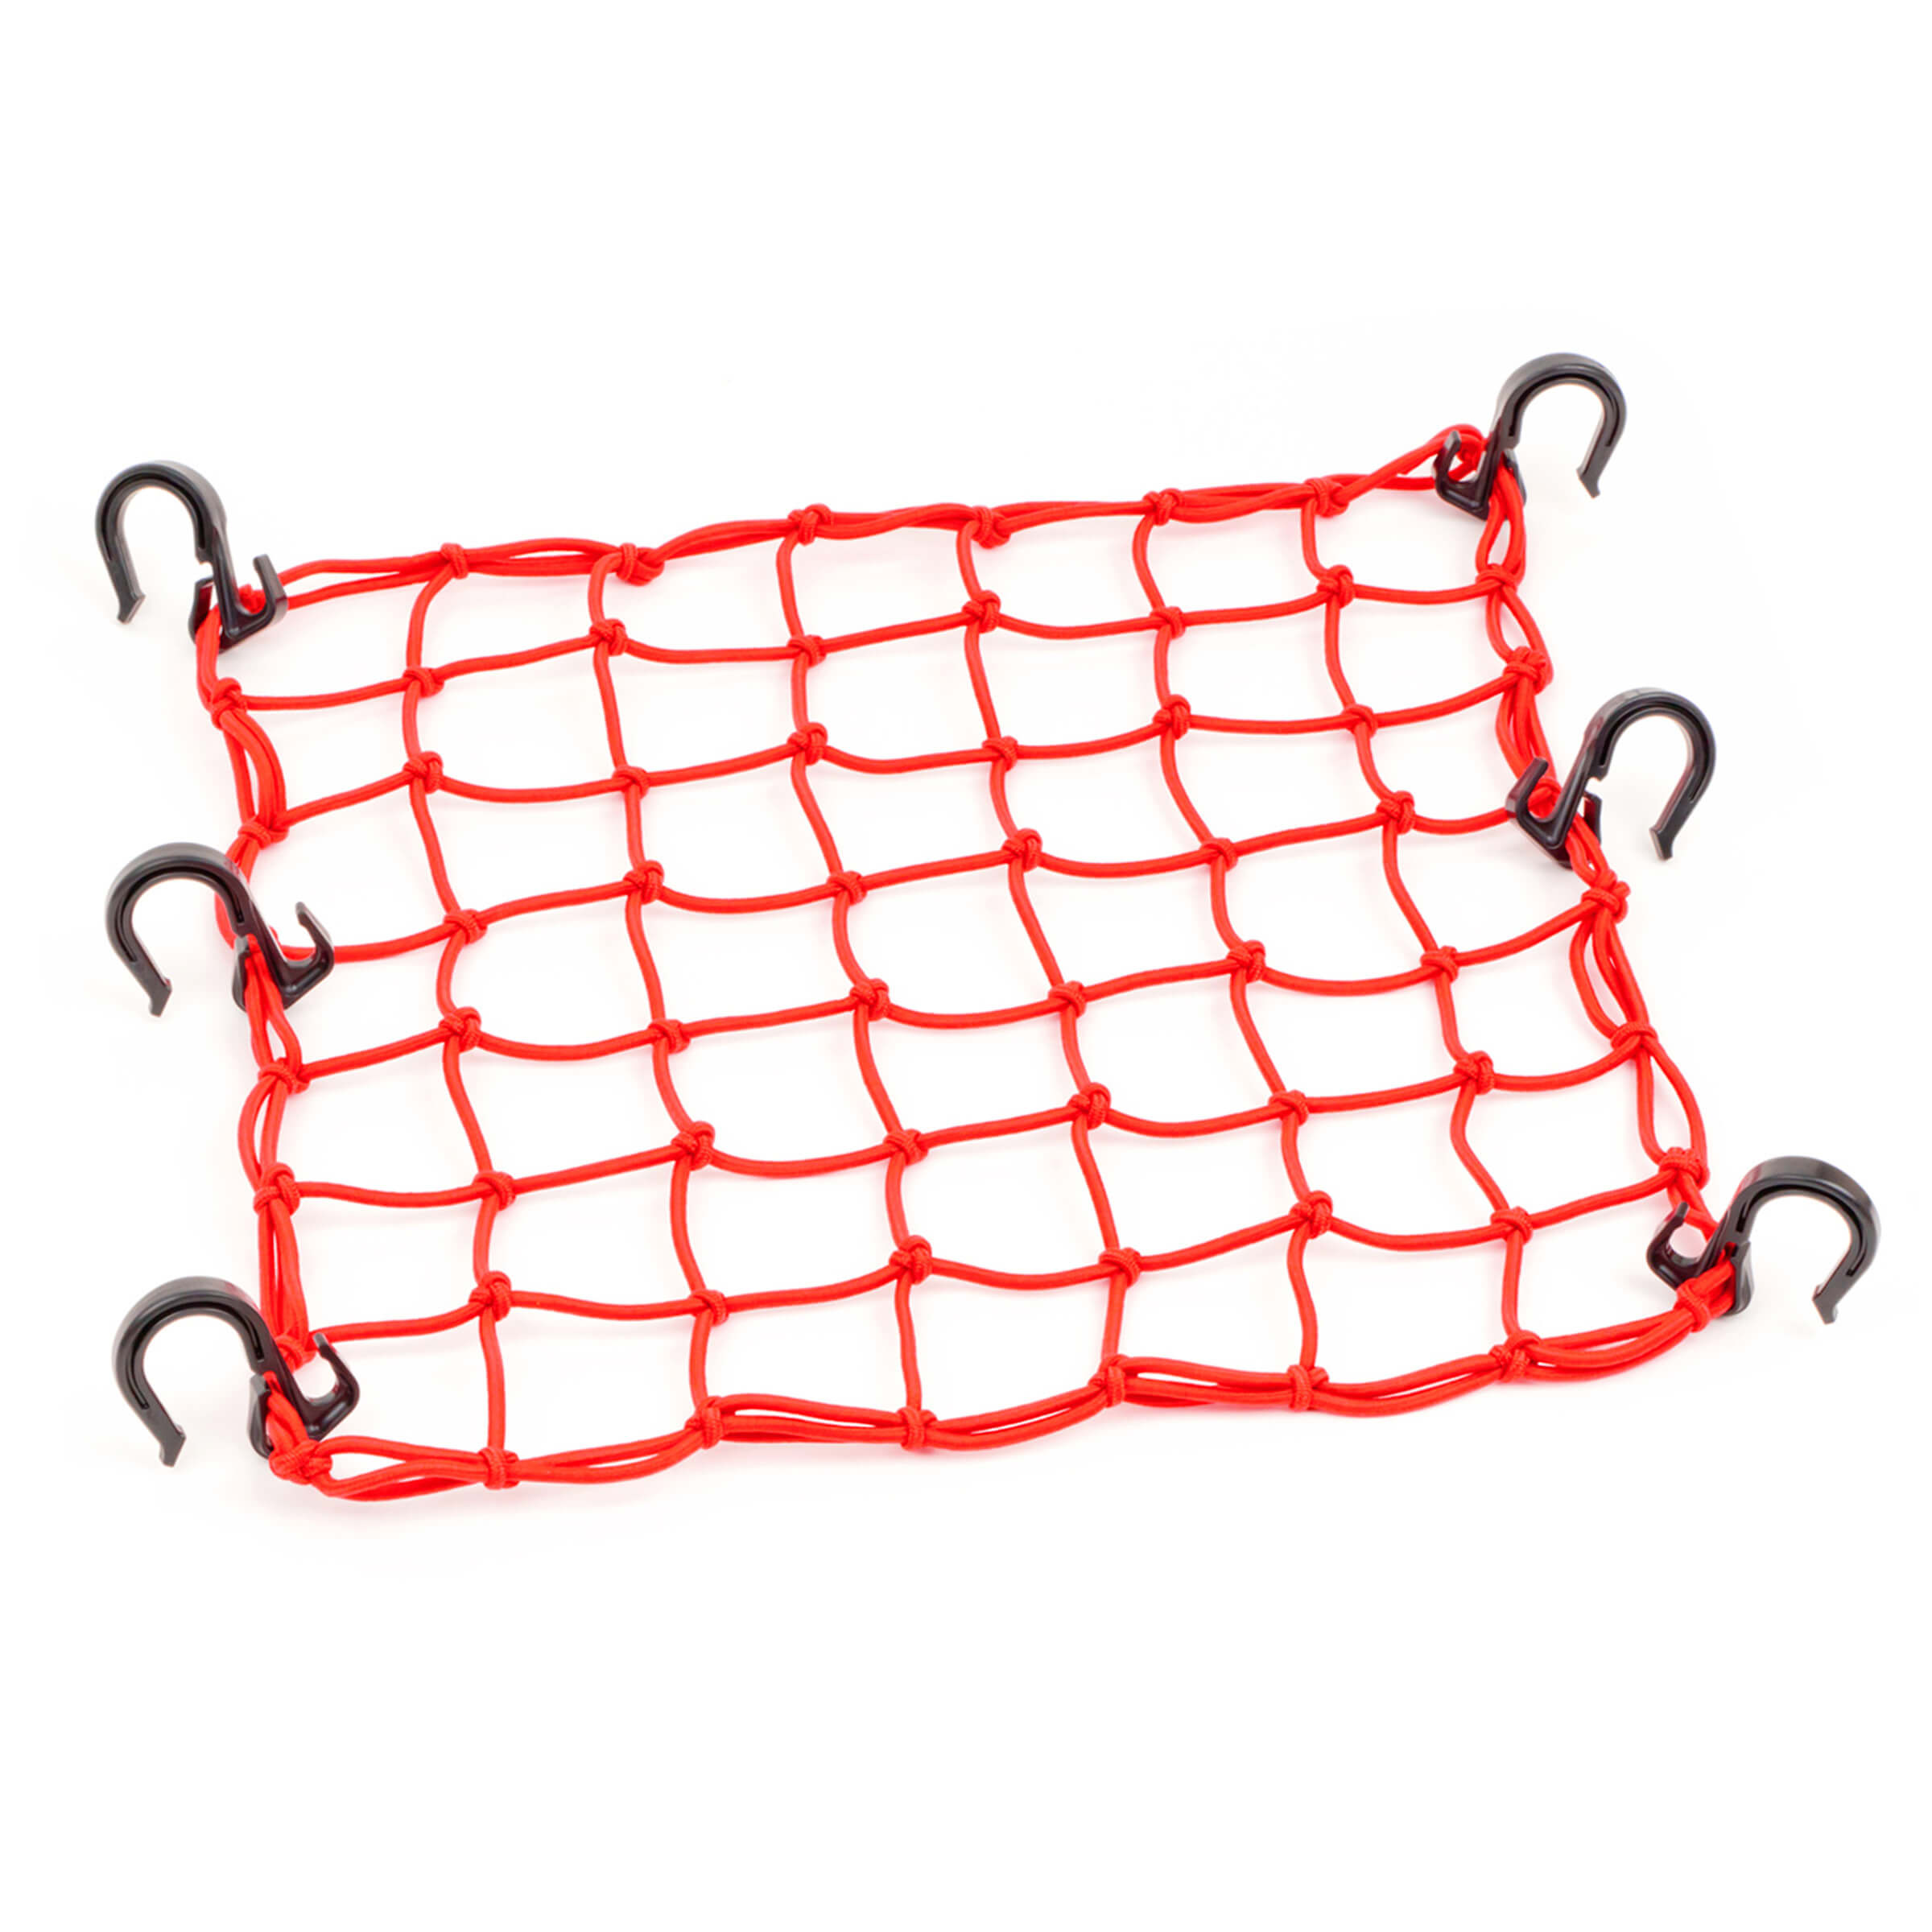
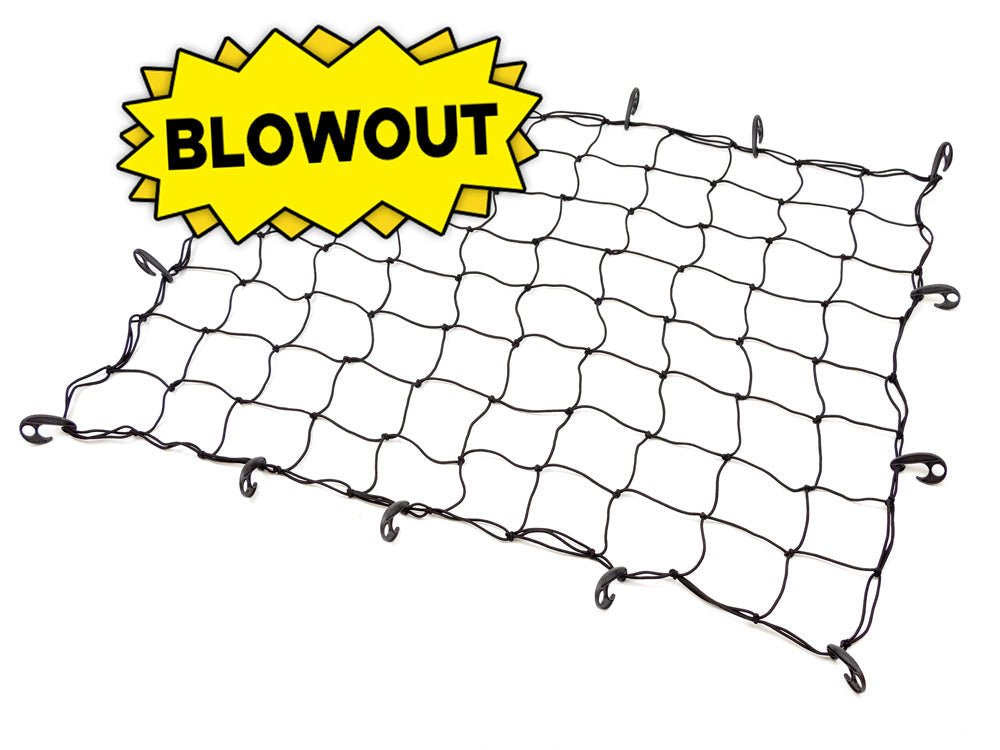
A cargo net is a flexible net made of elastic cord or heavy-duty webbing, designed to secure multiple items with one stretch-and-hook system. Unlike individual tie-down straps, a cargo net wraps around your entire load, applying tension from multiple directions at once. This makes it ideal for irregular-shaped gear, quick stops, and rugged travel conditions.
Cargo nets are commonly used in:
- Pickup truck beds
- Motorcycle seats or luggage racks
- UTVs and off-road vehicles
- Roof racks and cargo baskets
- Inside SUVs or hatchbacks
- Utility trailers
They’re fast, versatile, and far more reliable than the bungee cords or ropes many people still use. Best of all, one net can often replace multiple straps in a single move.
Choosing the Right Cargo Net for the Job

Before learning how to use one, it's worth understanding what type of cargo net fits your needs. Here are a few categories to help guide your selection.
Truck Bed Cargo Nets
These are larger, heavy-duty nets built to cover gear in the back of a pickup truck. Some are elastic, others use non-stretch polyester with adjustable straps. Ideal for everything from coolers and lumber to moving boxes and yard waste.
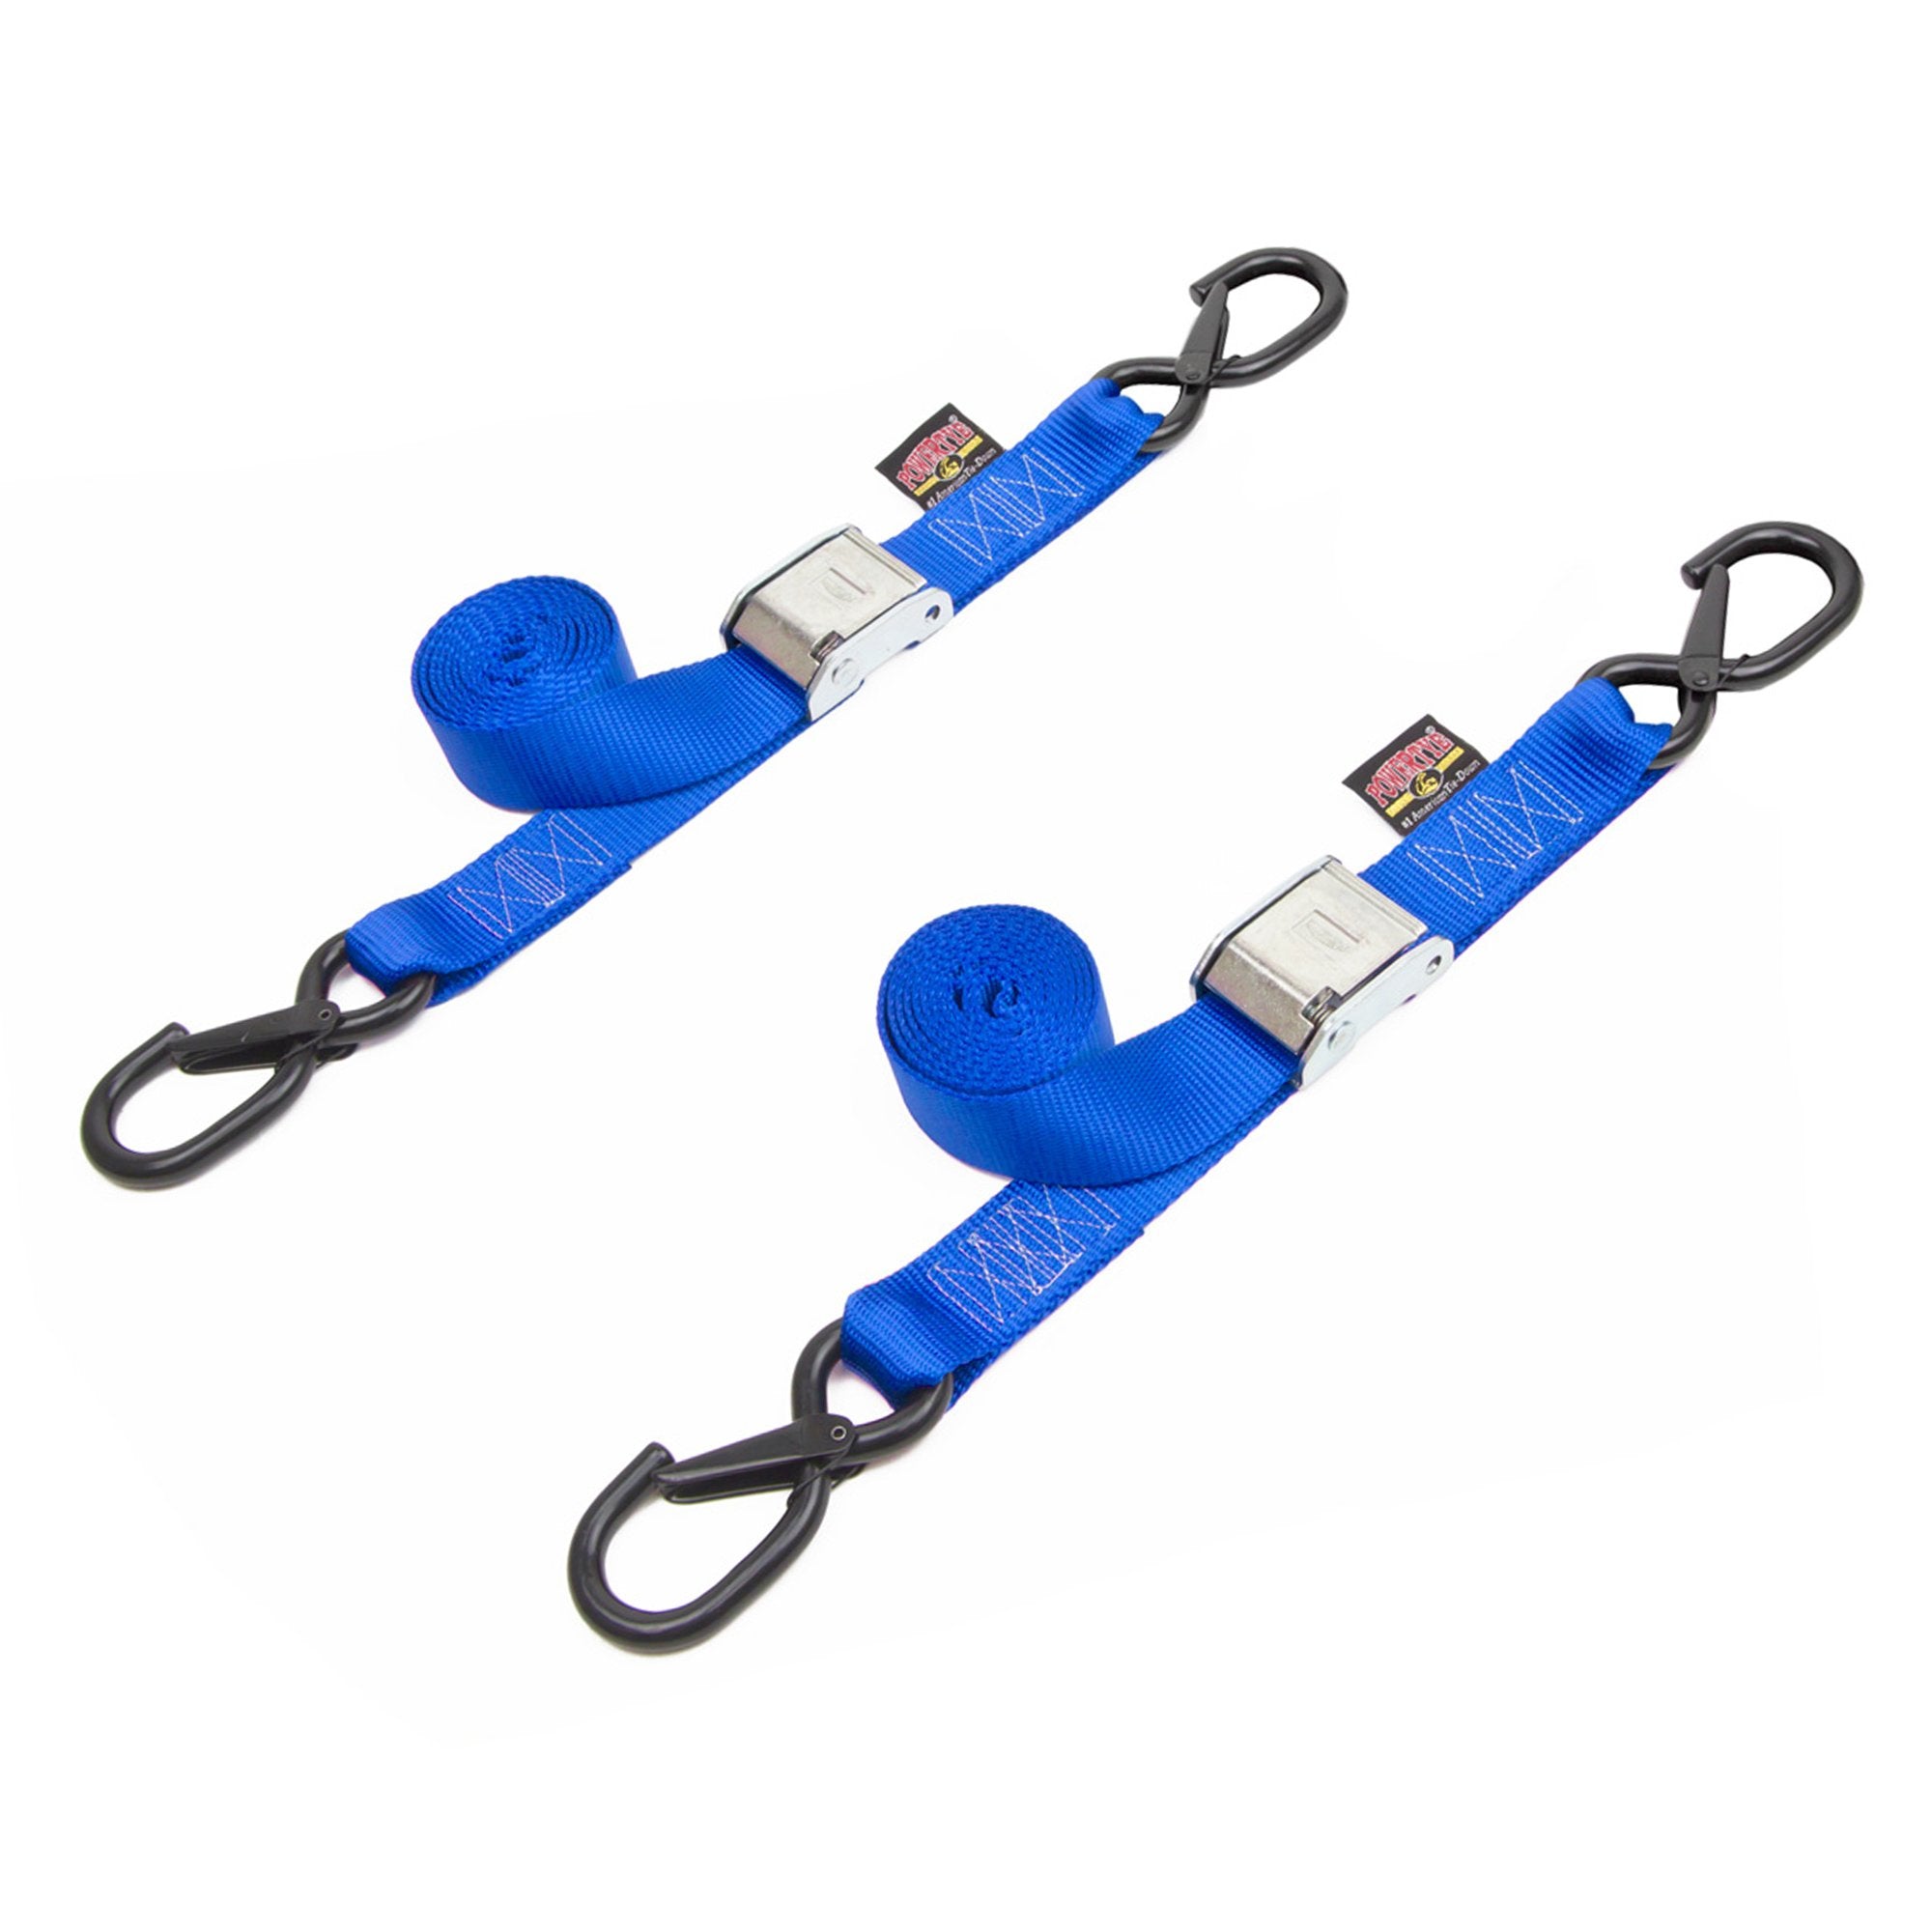
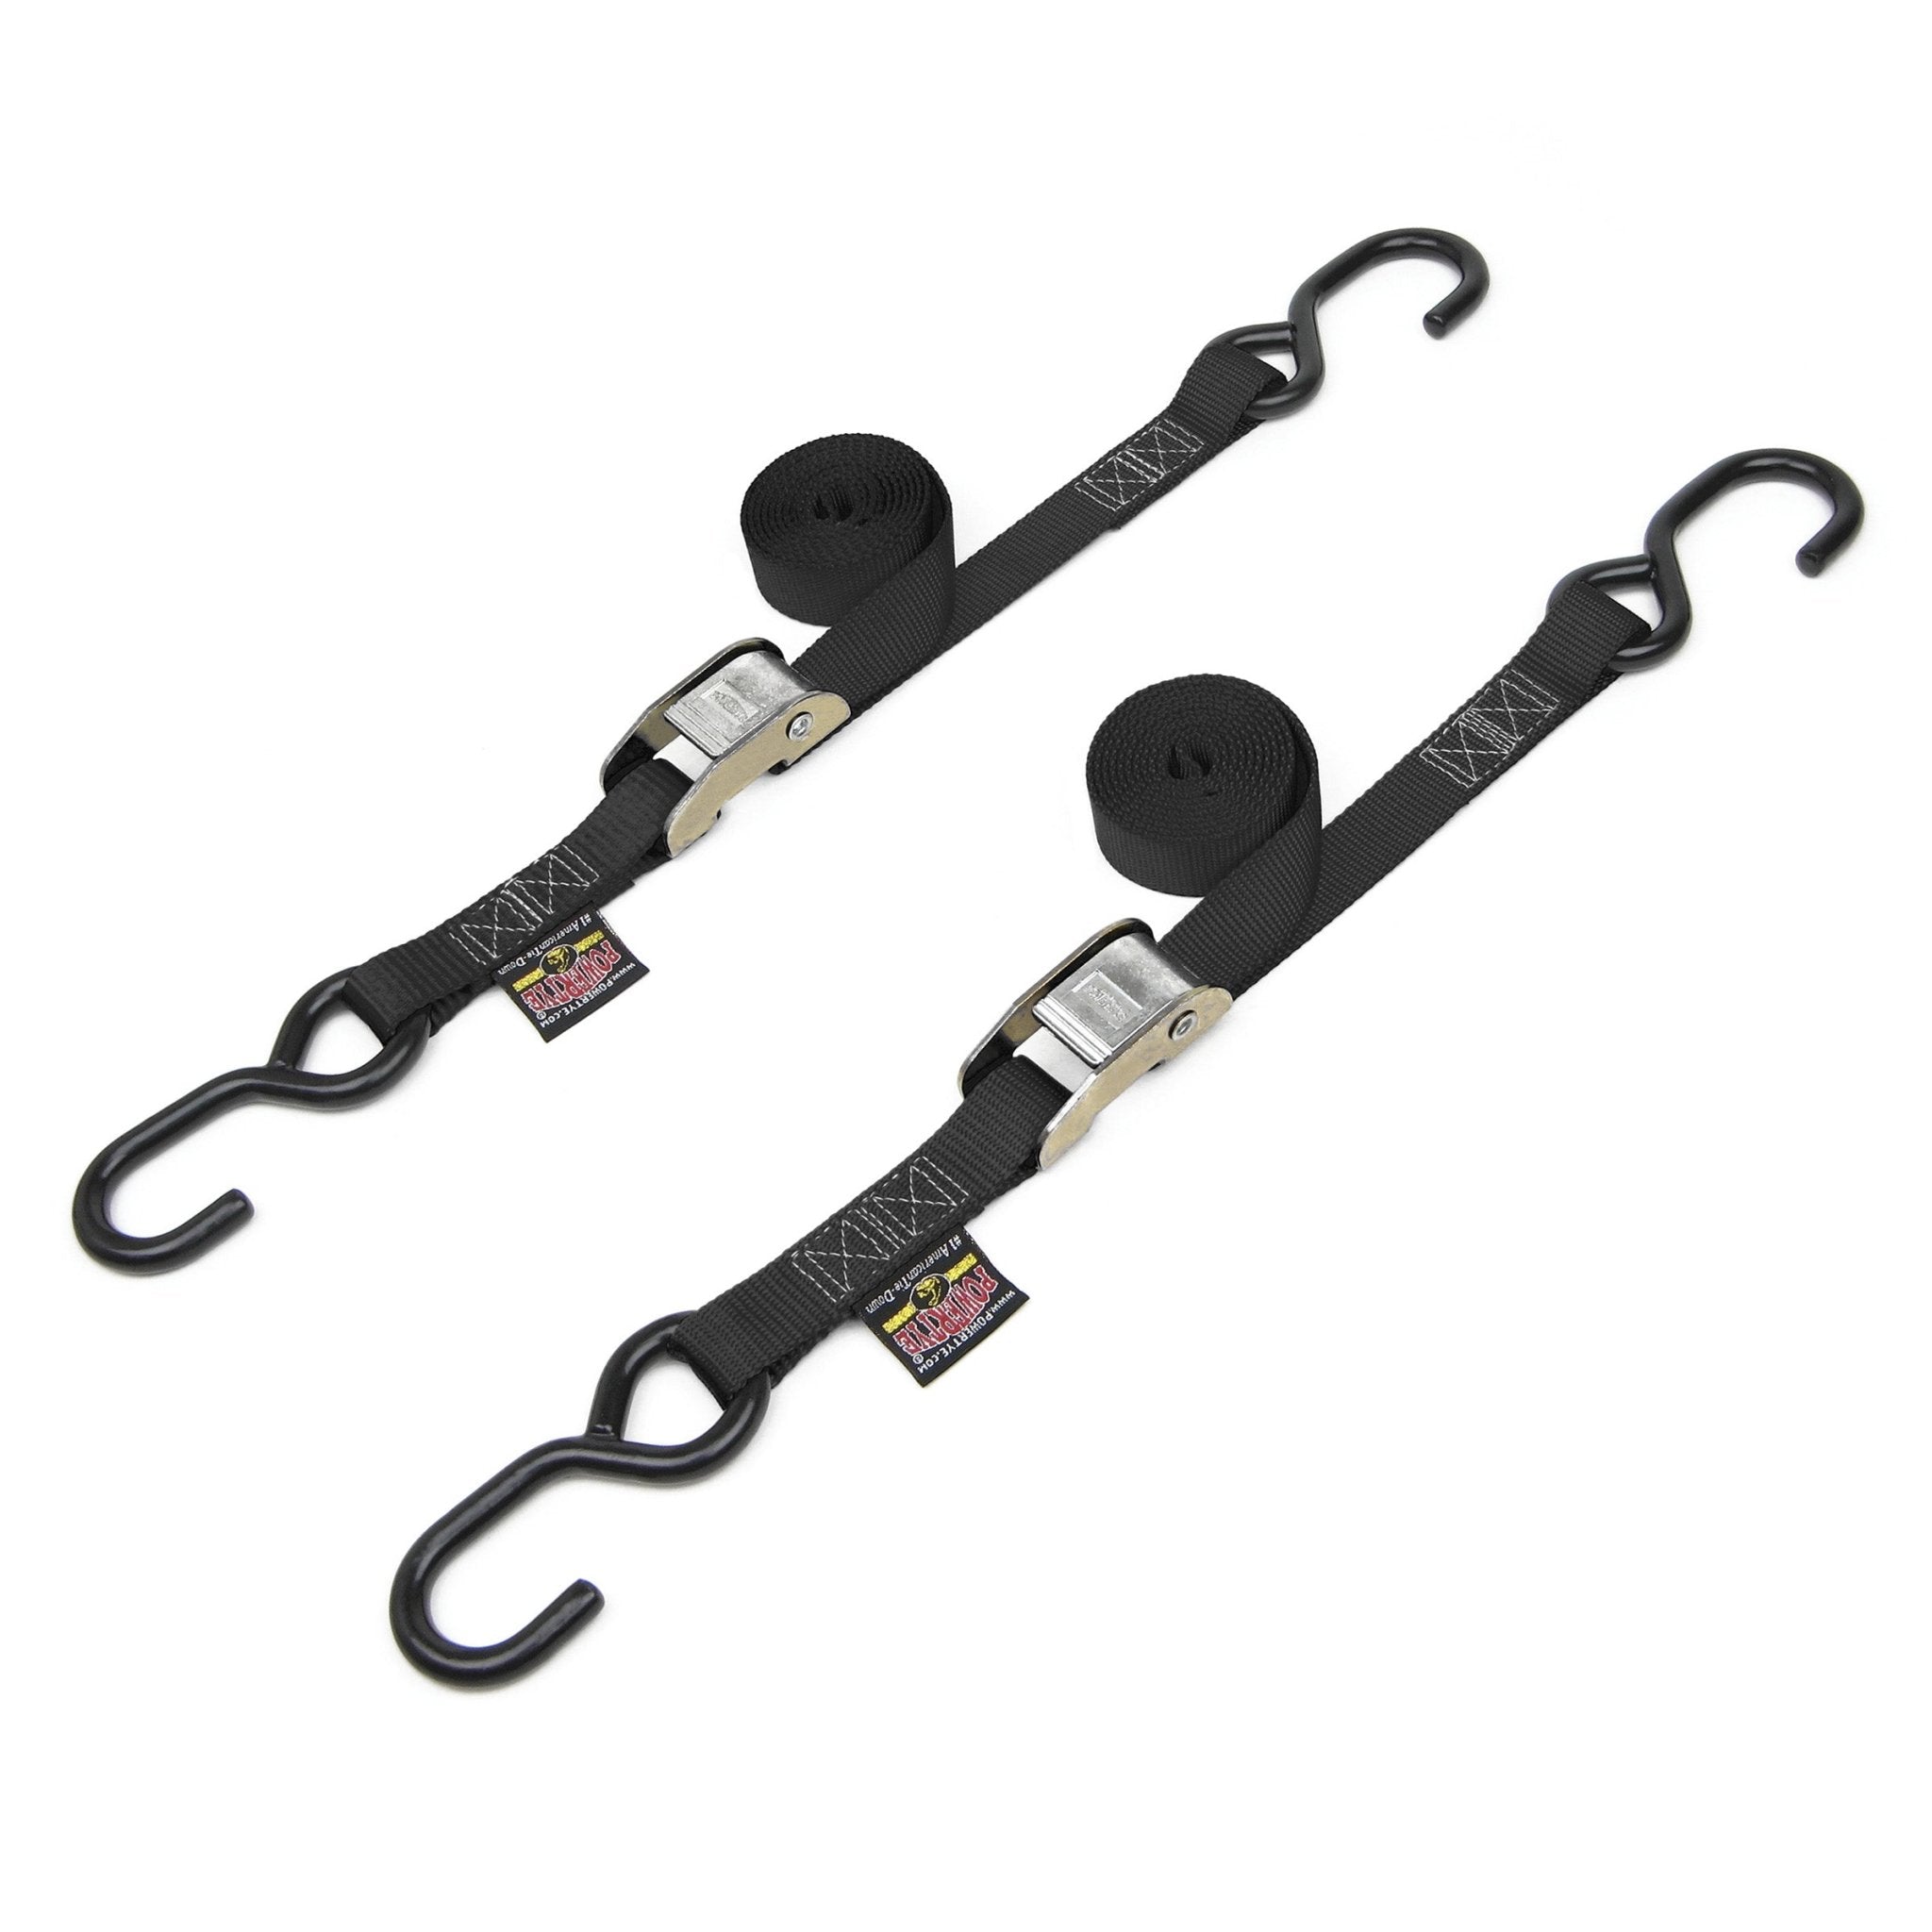
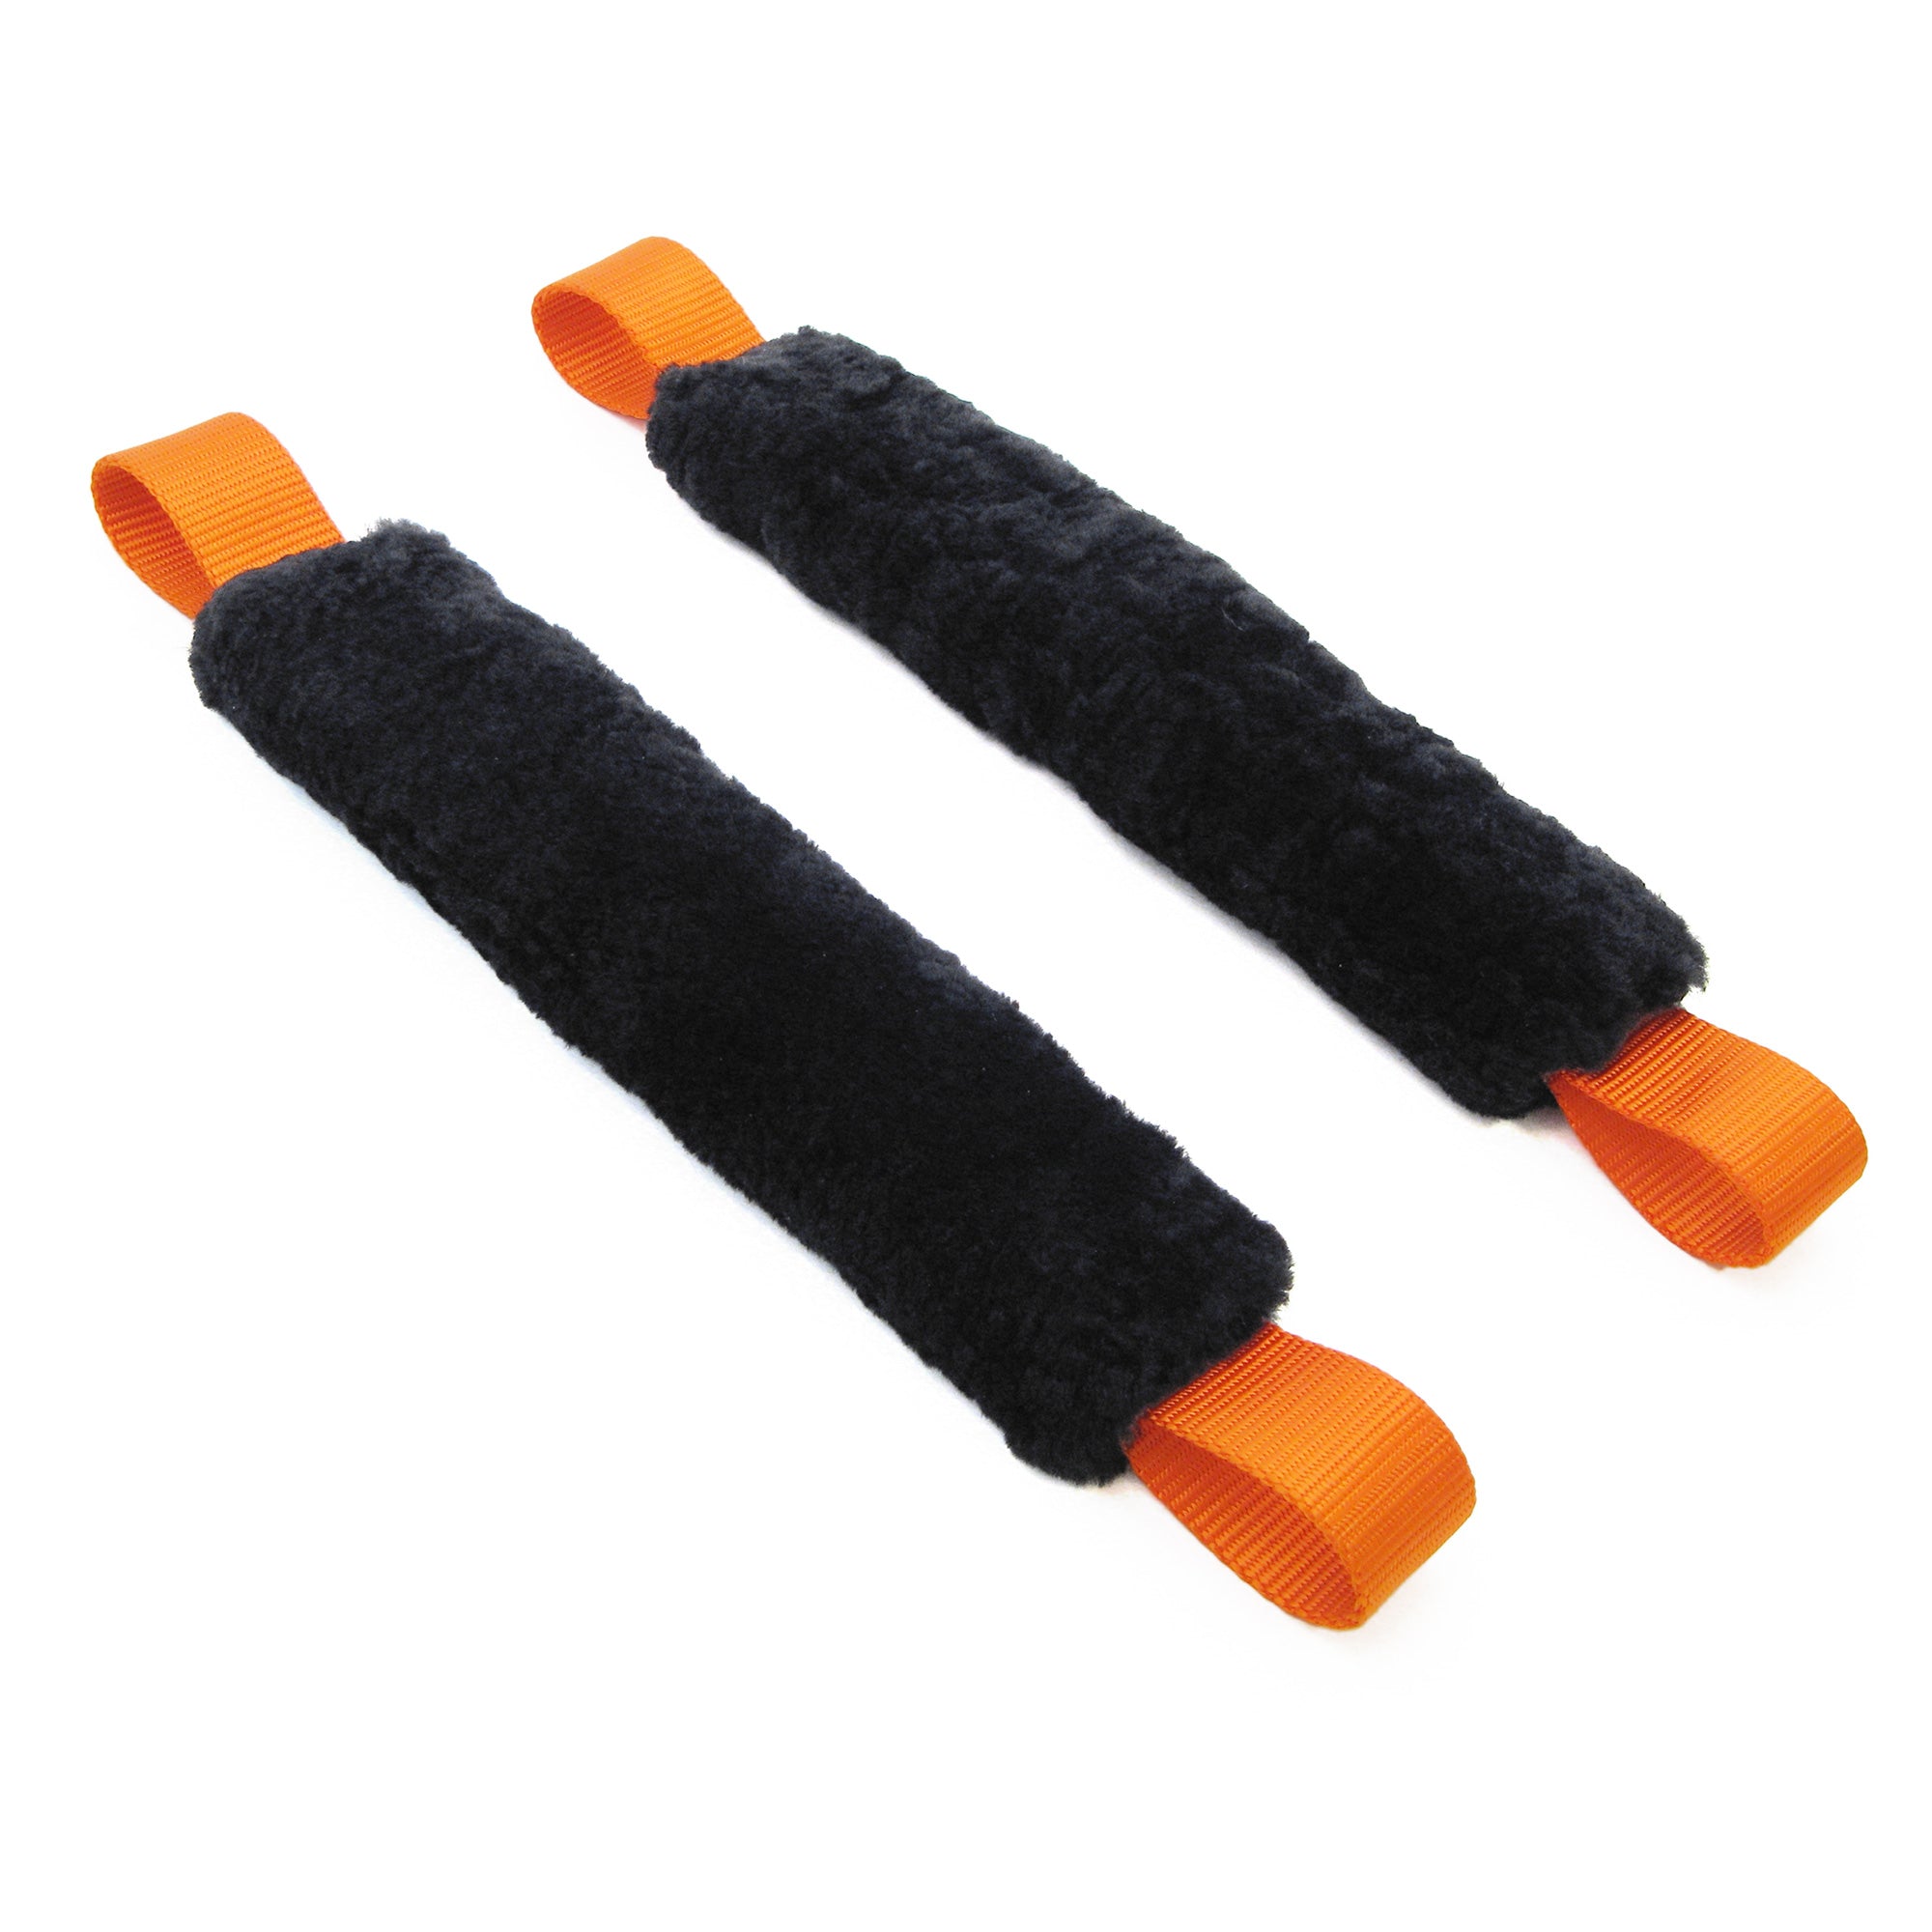
Motorcycle Cargo Nets
Smaller, stretchy nets that attach to passenger seats or luggage racks. Designed to hold backpacks, helmets, jackets, or small duffels. They often include multiple coated hooks for quick attachment.
UTV and ATV Cargo Nets
Designed for bumpy off-road travel, these nets typically fit in the cargo bed of a UTV and hold toolboxes, gas cans, chainsaws, or recovery gear.
Roof Rack Nets
Built to stretch over rooftop baskets or carriers, these nets keep duffels, camping gear, or travel bags secure at high speeds and through crosswinds.
SUV and Interior Nets
Usually flat panel nets with anchor loops or hooks that fit inside a hatchback or SUV cargo area. They keep groceries, sports equipment, or loose items from rolling around.
Step-by-Step: How to Use a Cargo Net Like a Pro
No matter the vehicle or cargo, using a cargo net follows the same basic process. Here’s how to do it properly.
Step 1: Prepare and Organize Your Load
Start by arranging your cargo into the most compact, stable shape possible. Stack items tightly and try to create a relatively flat top surface. This reduces shifting and helps the net apply tension evenly.
- Place heavier items on the bottom
- Fill gaps with soft or compressible items
- Avoid sharp corners or edges that could damage the net
- Use a tarp underneath if you want added water resistance or protection
The more unified your load, the more secure it will be under the net.
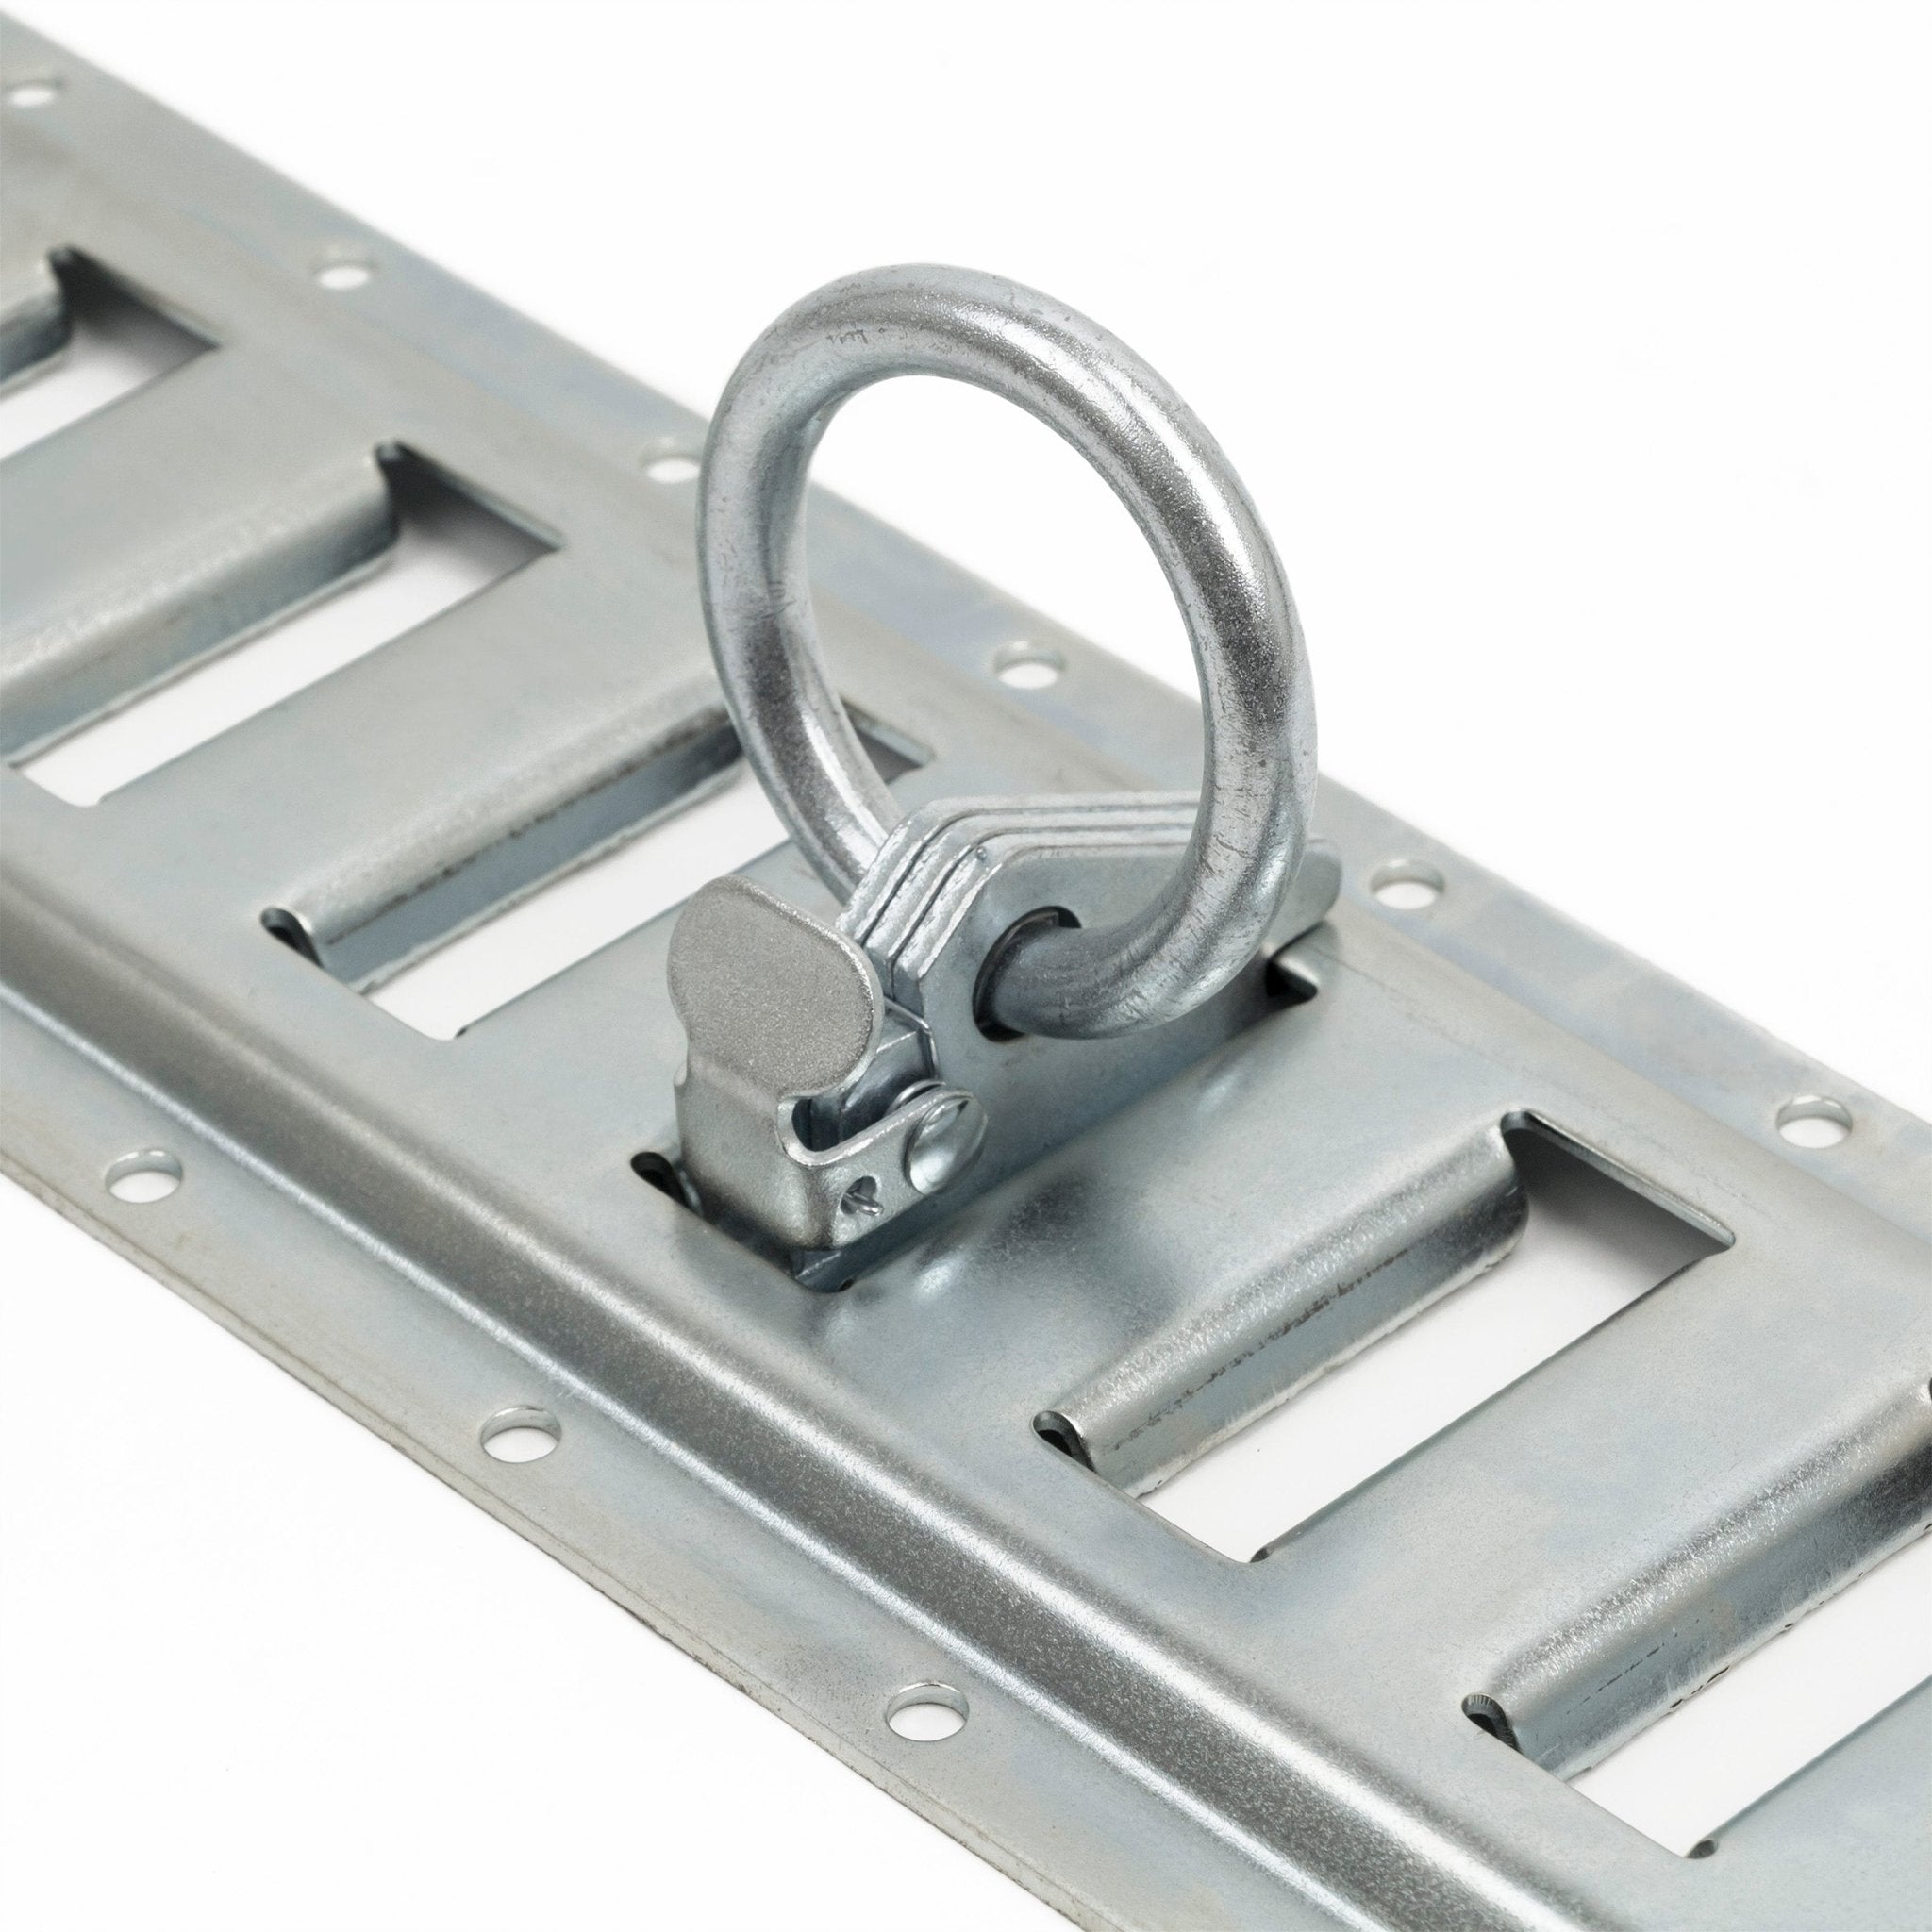
Step 2: Choose Anchor Points
Look for solid anchor points around the perimeter of your cargo area. These might include:
- Built-in tie-down loops
- Frame rails or cargo hooks
- Luggage rack rails
- Roll cages or bed sides
- Cargo bars or utility track systems
Avoid attaching hooks to plastic trim or other parts that could bend or snap under tension.
Step 3: Stretch the Net Over the Load
Position the net over your gear, making sure it is centered and covers the entire surface. If the net has a reinforced edge or specific top side, align it accordingly.
Then begin hooking the corners or edges of the net to your anchor points. Work opposite sides to balance the tension:
- Hook front left, then back right
- Hook front right, then back left
- Fill in the sides evenly
Ensure the net is spread tightly and lies flat over the cargo. There should be slight tension on the net even before you fully tighten it down.
Step 4: Adjust and Tighten as Needed
Many nets include adjustable hooks, sliding anchor loops, or tensioning straps. Use these to:
- Center the net
- Add more tension
- Avoid gaps between the net and gear
- Move hooks to stronger anchor points
The goal is firm, even pressure without over-tightening. You don’t want to crush or deform your load, but you do want it to feel immobile when you tug on it.
Step 5: Secure Loose Ends
If your net has extra strap material, leftover tail ends, or movable hooks, make sure everything is secured. Use built-in hook and loop wraps, tuck loose straps under the net, or tie them off to prevent flapping.
Excess strap length can unravel in the wind, get caught in wheels, or wear down the net prematurely. Keeping things tidy is part of a pro setup.
Step 6: Final Safety Check
Before you hit the road or trail, give the entire load a solid shake. Nothing should shift or bounce. Pull gently on the net in multiple directions to confirm the anchor points are solid. Recheck your hooks and any tension adjustments.
If it’s a longer drive, check again during your first stop. Stretchy nets may loosen slightly after settling in, especially over bumpy terrain.
Cargo Net Tips for Different Vehicles
Truck Owners
Use a large net that spans your entire bed. You can layer it over tarps, toolboxes, or open containers. Double-check tension after driving over rough roads. For smaller loads, fold or bunch the net for targeted coverage.
Motorcycle Riders
Always hook into metal anchor points or luggage racks, never plastic fenders. Tighten until your helmet or bag cannot wiggle. On longer rides, check the tension at rest stops. Keep your net clean and dry between rides to extend its life.
UTV and Off-Road
Choose heavy-duty nets with non-stretch webbing if you’re carrying dense gear like toolboxes or gas cans. For light trail items, stretchy nets work well and allow fast access. Be extra cautious with anchor point strength — the terrain can shake things loose.
SUV and Hatchback Drivers
Interior nets work best for keeping items from sliding. You can also stretch smaller nets across seatbacks or trunk spaces to separate gear and groceries. Make sure nothing blocks rear visibility or interferes with cargo doors.
Roof Rack Haulers
Use a weather-resistant cargo net with at least eight hooks. Ensure your gear is tightly packed and low profile to reduce wind drag. Avoid stacking items too high under the net unless you are using a reinforced rooftop basket.
Mistakes to Avoid with Cargo Nets
Even simple tools like cargo nets can be misused. Here are common pitfalls to avoid:
Not Matching Net Size to Load
A net that’s too small won’t stretch enough to cover your gear. One that’s too large may sag or not apply consistent pressure. Measure your cargo area before buying.
Anchoring to Weak Points
Always attach hooks to solid metal or purpose-built anchor loops. Avoid tie-downs that rely on plastic or thin trim.
Forgetting to Check Mid-Trip
Especially on long drives or bumpy roads, stop and recheck your cargo. Shifting loads can wear out nets or cause failure if left uncorrected.
Using Worn or Sun-Damaged Nets
UV exposure breaks down elastic and webbing over time. Replace nets that are faded, brittle, or fraying at the seams.
Overstretching
If you find yourself forcing a net beyond its natural length or straining hooks to reach anchor points, the net is too small or the load needs rearranging. Always work within the net’s limits.
Pro-Level Tips for Getting More from Your Net
- Mark the top edge or logo side with tape or fabric marker for faster orientation
- Use two nets for large or oddly shaped loads instead of overstretching one
- Coil and hang nets between uses to preserve elasticity and reduce wear
- Keep a spare in your truck or bike in case your primary net breaks or gets dirty
- Pair with soft-tie extensions to create custom anchor loops when no hard points are available
When to Use a Cargo Net Instead of Tie-Down Straps
Tie-down straps are still important for heavy or high-stress loads. But cargo nets are ideal when:
- You need fast, flexible coverage
- You’re securing lots of small or medium items at once
- You want soft pressure without crushing delicate cargo
- You need gear to stay put through bumps, turns, or sudden stops
- You’re loading and unloading frequently and want faster access
For most everyday hauls, a cargo net is faster, easier, and just as secure as more complicated strap systems.
Final Thoughts
Learning how to use a cargo net properly is one of the simplest upgrades you can make to your hauling routine. With the right setup, you can cut down on time, frustration, and the risk of lost gear. Whether you’re commuting by motorcycle, hitting trails in a UTV, or loading up the pickup for a jobsite, a cargo net gives you fast and reliable load security every time.
Choose the right size and style, hook it down smartly, and check your work before you roll. With a good cargo net and a few minutes of prep, you can drive with total confidence knowing your gear is locked in tight.